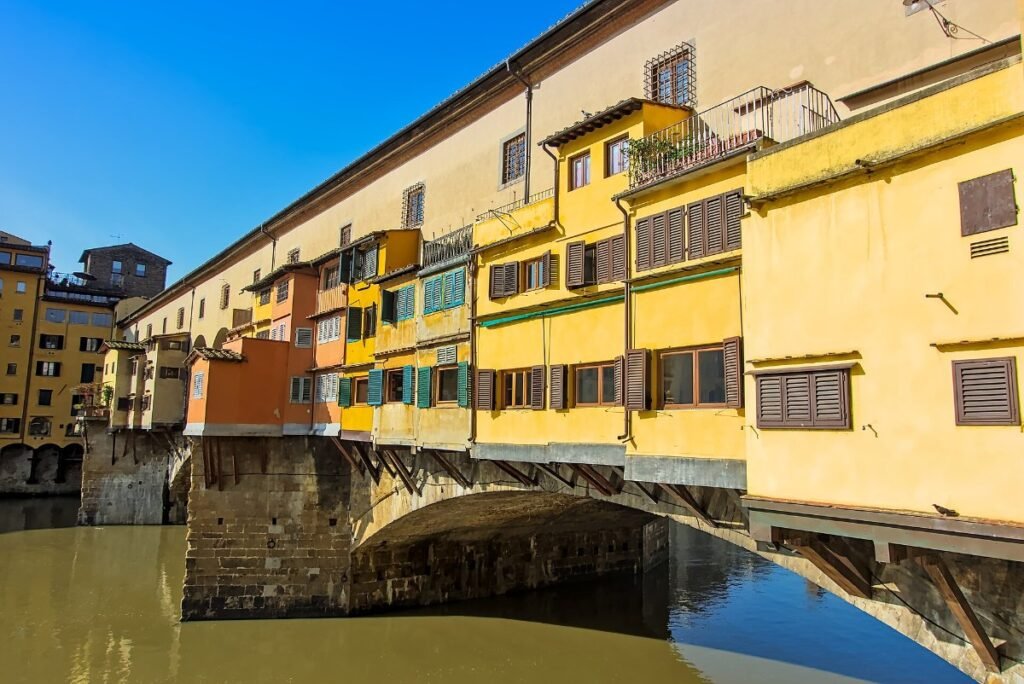
Here’s the small, slightly sad problem with travelling alone: you come home with 400 photographs of buildings and none of yourself.
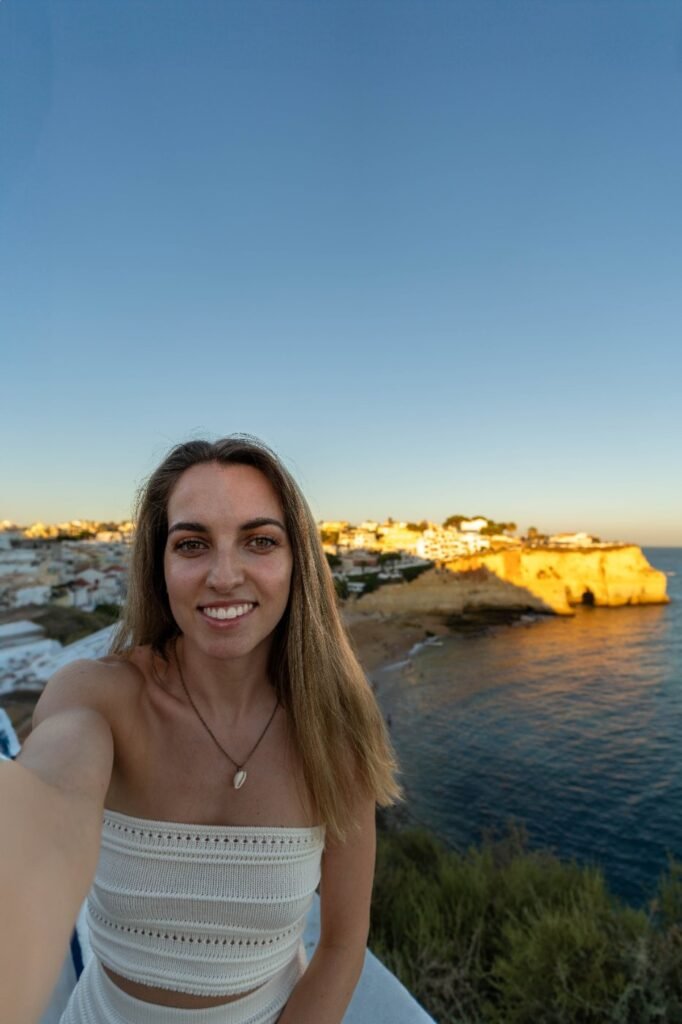
And the ones you do have are arm’s-length selfies with a nostril angle and half a cathedral behind your head.
This is entirely fixable and it doesn’t require asking strangers or buying much. Here’s what actually works.
Stop Asking Strangers
Not for safety reasons, mostly. Because the results are consistently bad.
A stranger will take one photo, centre you, cut off the thing you wanted in the background, and hand the phone back before you can check. You get one frame and it’s usually blurred.
If you do ask, ask someone with a proper camera around their neck. They understand composition and they’ll take several. Ask them to get your feet in, which is the single most useful instruction, since it forces them to step back and include the setting.
The Kit That Actually Matters
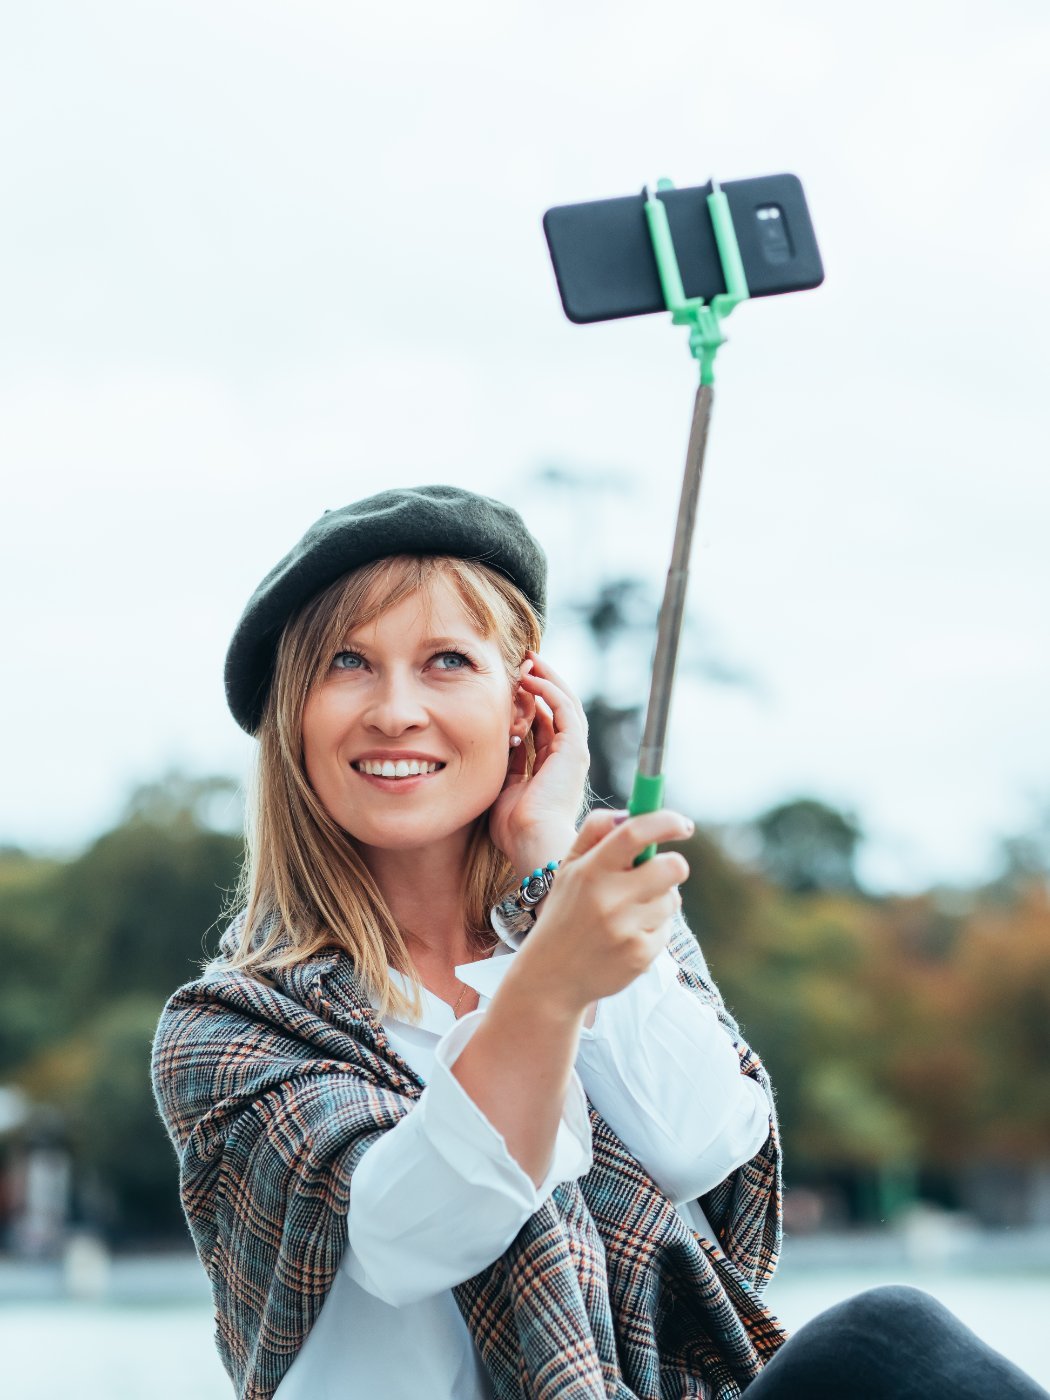
You need two things and they cost very little.
A small flexible tripod, the kind with bendy legs that wrap around railings and branches. It weighs almost nothing and it turns any fence, bin or bollard into a camera position.
A bluetooth remote shutter. About the price of a coffee, pairs with your phone, and it means you’re not sprinting back into frame during a ten second timer. This one thing changes everything.
If you’d rather carry one item, a selfie stick that converts into a small tripod does both jobs adequately.
Optional third: a phone case with a strap, so a tripod-less shot on a railing is less terrifying.
▶ Watch This Before You Go
Use the Timer Properly
Set a burst or interval rather than a single shot. On an iPhone, the timer fires a burst of ten and you pick the best. On Android, most cameras have an interval or burst mode.
That means you get ten frames of you walking, turning, adjusting your hair, and one of them will look natural. A single timed frame almost never does.
Set it up, walk in, then keep moving for the whole burst. Do not stand still and pose at the camera. Movement is what makes these look candid rather than staged.
Don’t Look at the Camera
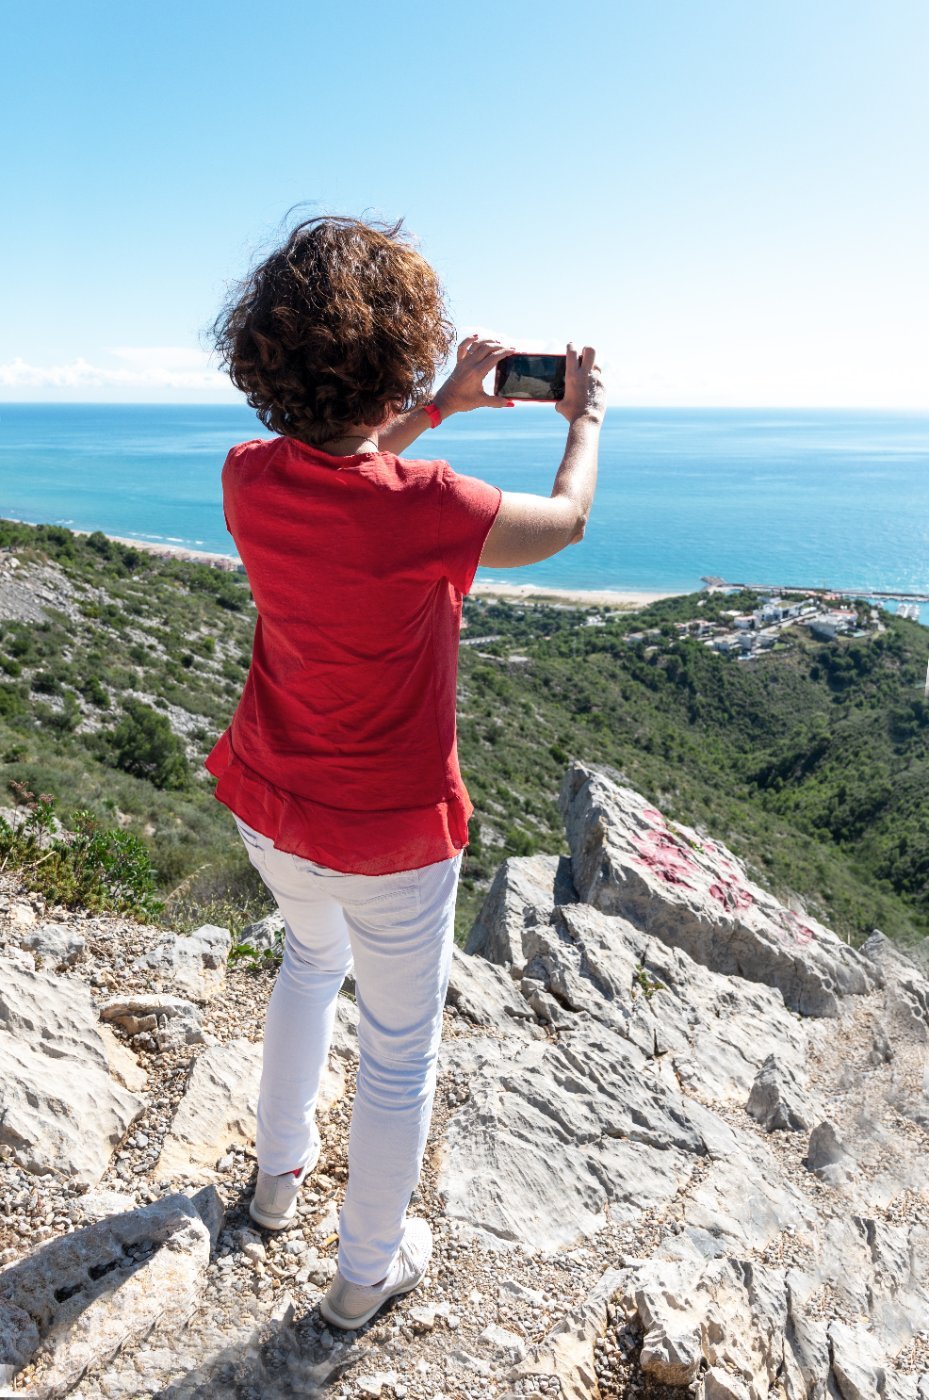
The single biggest improvement, and it’s free.
Photos where you’re looking at the view, walking away, sitting on a wall, adjusting a bag or reading a menu look like a moment. Photos where you’re grinning at a phone on a tripod look like what they are.
Walk out of frame and back in. Look up at the building. Look down the street. Turn your head slowly.
The three-quarter turn away from camera is the most flattering and most natural-looking position for almost everyone.
Put Yourself Small in the Frame
Amateur self-portraits fill the frame with a face. Good travel photos of a person put them small against something big.
Stand back. Way back. You want the arch, the coastline, the street to be the subject and yourself to be the human scale reference in it.
Rule of thirds: put yourself a third of the way in from one side rather than dead centre. It’s a cliche because it works.
And get your feet in. It’s the most common mistake and cutting off feet makes a photo look accidental.
The Light Does Most of the Work
Midday sun is the enemy. It’s overhead, it makes harsh shadows under your eyes and it blows out the sky.
Golden hour, the hour after sunrise and before sunset, makes everyone look better and requires no skill. If you take one photo a day, take it then.
Overcast days are secretly excellent. Cloud is a giant softbox and colours stay saturated.
If you’re stuck in midday sun, find open shade. The shaded side of a street with a bright wall opposite bouncing light back at you is the best free lighting setup there is.
Where to Put the Camera
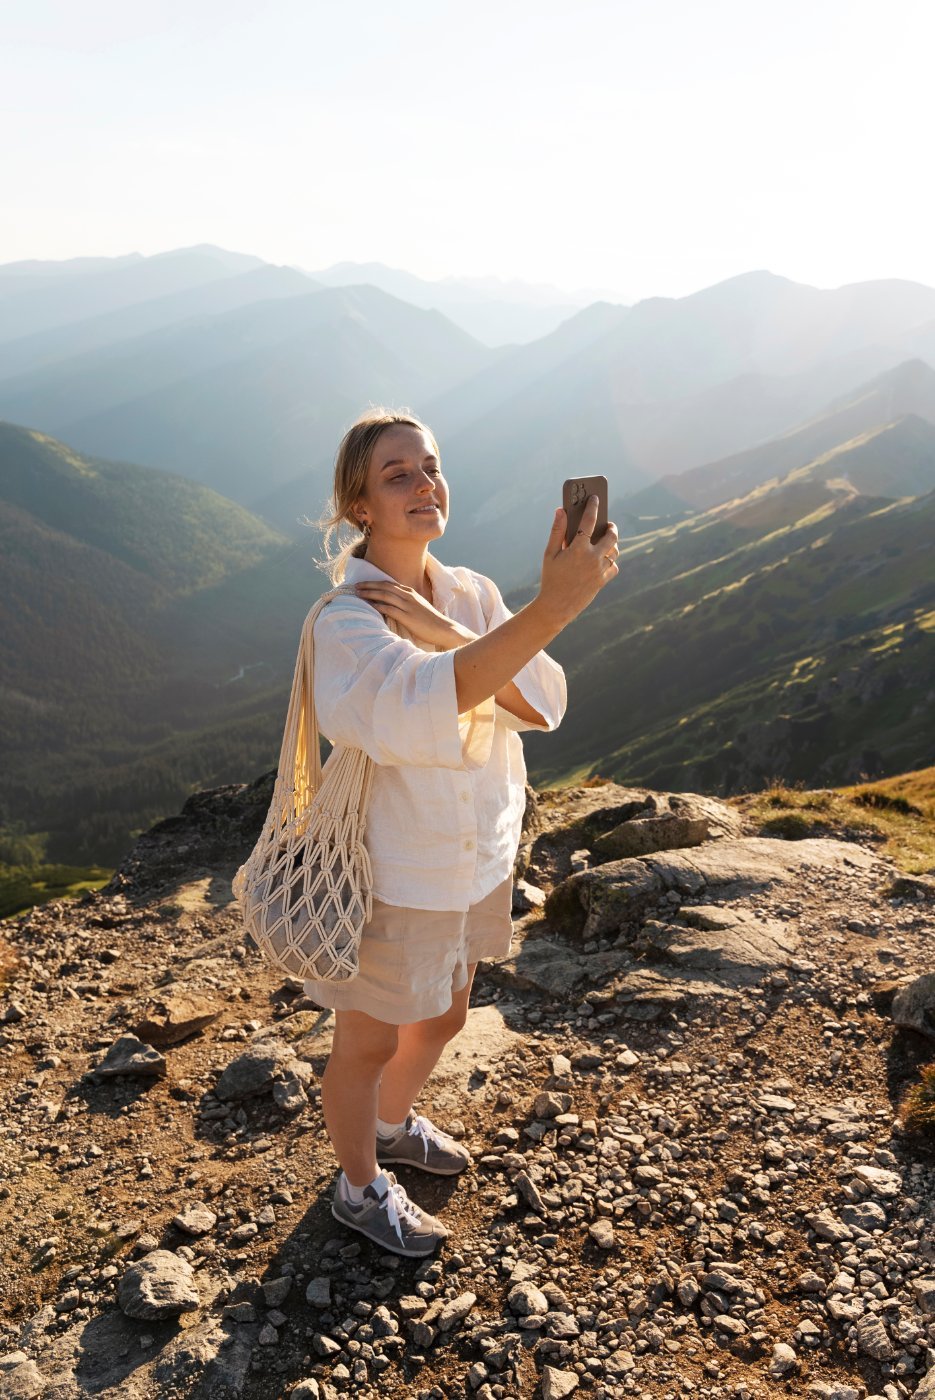
Slightly below eye level, tilted up a fraction, makes almost everyone look better. On the ground pointing up is a distinctive look and works well with architecture.
Railings, walls, café tables, your bag on a bench, a water bottle propping the phone. You do not need a tripod if you’re willing to be inventive.
Use the wide lens for landscapes with you in them, and the 2x or 3x for a tighter portrait, since it compresses the background pleasingly and is much more flattering than the wide lens up close.
Beat the Crowds Rather Than Editing Them Out
The reason travel photographers get empty streets is not skill, it’s alarm clocks.
Any famous location at 7am is a different place from the same location at 11am. That’s the whole secret and nobody wants to hear it.
Sunrise also gives you the light, so it solves two problems at once.
A Few Things That Help
Wear one bold colour. A red coat or a yellow dress against grey stone reads instantly and is why you see it in so many travel photos.
Take more frames than feels reasonable. Fifty gets you two good ones, and that ratio is normal even for professionals.
Check the first frame before you commit to twenty. Focus, framing, whether your bag strap is doing something odd.
And be a bit shameless about it. Everyone standing near you is doing the same thing and nobody is paying attention 🙂
Common Questions
What’s the best equipment for solo travel photos? A small flexible tripod and a bluetooth shutter remote. Together they cost very little and they solve almost the whole problem.
How do I avoid awkward selfies? Get the camera off your arm and onto something, stand well back, and don’t look at the lens.
Should I ask strangers to take my photo? Only people carrying a real camera, and ask them to include your feet. Otherwise you’ll get one badly framed shot.
When is the best light? The hour after sunrise and before sunset. Overcast days are the underrated second choice.
How do I get photos without crowds? Go at sunrise. There is no other reliable method, and it gives you better light too.