
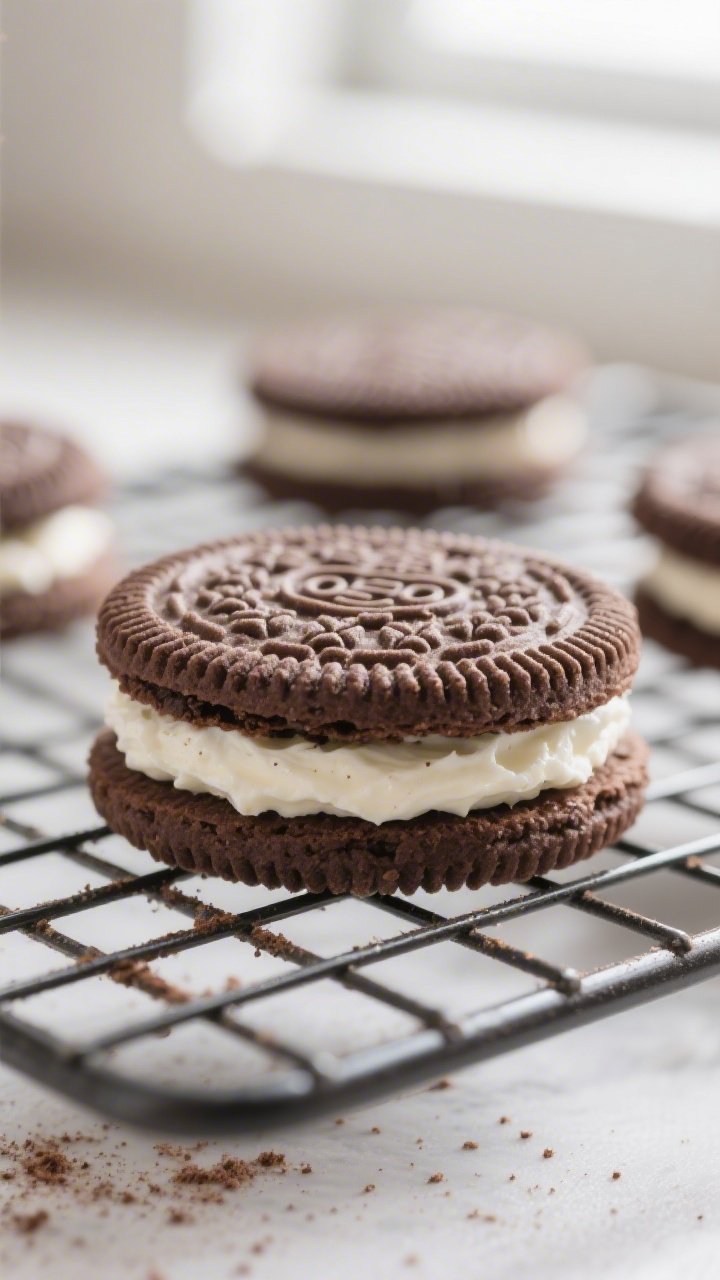
Homemade Oreo cookies bring the classic store-bought favorite right into your kitchen, with a richer chocolate flavor and a crisp bite that melts into a creamy center. These cookies taste familiar but feel special, like something you’d serve to friends and still sneak after bedtime. The dough is simple, the bake is quick, and the filling is smooth and sweet.
You don’t need fancy tools, just a bowl, a whisk, and a little patience. If you love the nostalgic crunch-and-cream combo, this recipe will hit the spot.
What Makes This Recipe So Good
- Deep chocolate taste: Natural cocoa powder creates a bold, slightly bitter cookie that balances the sweet filling.
- Classic texture: Thin, crisp wafers snap cleanly and soften just a bit after a day, just like the original.
- Simple ingredients: Pantry staples come together fast, and the dough is easy to handle and roll.
- Customizable sweetness: Adjust the filling to be less sweet or add flavors like vanilla bean or peppermint.
- Make-ahead friendly: Both dough and filling hold well, so you can bake and assemble on your schedule.
What You’ll Need
- For the chocolate cookies:
- 1 cup (130 g) all-purpose flour
- 1/2 cup (45 g) unsweetened natural cocoa powder
- 1/2 teaspoon baking soda
- 1/4 teaspoon baking powder
- 1/4 teaspoon fine salt
- 3/4 cup (150 g) granulated sugar
- 1/2 cup (115 g) unsalted butter, softened
- 1 large egg, at room temperature
- 1 teaspoon vanilla extract
- For the cream filling:
- 1/4 cup (55 g) unsalted butter, softened
- 1/4 cup (50 g) vegetable shortening (for stability; sub butter if preferred)
- 1 3/4 cups (210 g) powdered sugar, sifted
- 1 teaspoon vanilla extract
- 1–2 teaspoons milk or cream, as needed
- Pinch of salt
- Optional flavor twists: 1/2 teaspoon peppermint extract, orange zest, or a scraped vanilla bean for the filling.
Instructions

- Prep the oven and pans: Heat oven to 350°F (175°C). Line two baking sheets with parchment.
- Mix dry ingredients: In a bowl, whisk flour, cocoa, baking soda, baking powder, and salt until even and lump-free.
- Cream butter and sugar: In a large bowl, beat softened butter and granulated sugar until light and slightly fluffy, 2–3 minutes.
- Add egg and vanilla: Mix in the egg and vanilla until smooth.
Scrape the bowl so everything blends well.
- Combine dough: Add dry ingredients to the wet in two additions. Mix on low until a soft, cohesive dough forms. It should be slightly firm but pliable.
- Chill briefly: Flatten dough into a disk, wrap, and chill 20–30 minutes.
This prevents spreading and makes rolling easier.
- Roll thin: On a lightly floured surface (or between two sheets of parchment), roll dough to about 1/8 inch (3 mm). Thinner dough yields crisper wafers.
- Cut rounds: Use a 1.75–2 inch (4.5–5 cm) round cutter. Re-roll scraps as needed.
Aim for an even number of cookies for sandwiches.
- Bake: Arrange on prepared sheets with slight spacing. Bake 8–10 minutes, until edges are set and centers look matte. They’ll firm up as they cool.
- Cool completely: Let cookies rest on the sheet 5 minutes, then transfer to a rack.
Cool fully before filling.
- Make the filling: Beat butter and shortening until smooth. Add powdered sugar, vanilla, and salt. Beat until fluffy, adding milk 1 teaspoon at a time until thick but spreadable.
- Assemble: Pipe or spread about 1 teaspoon of filling on the bottom of one cookie.
Top with a second cookie and press gently to spread the cream to the edges.
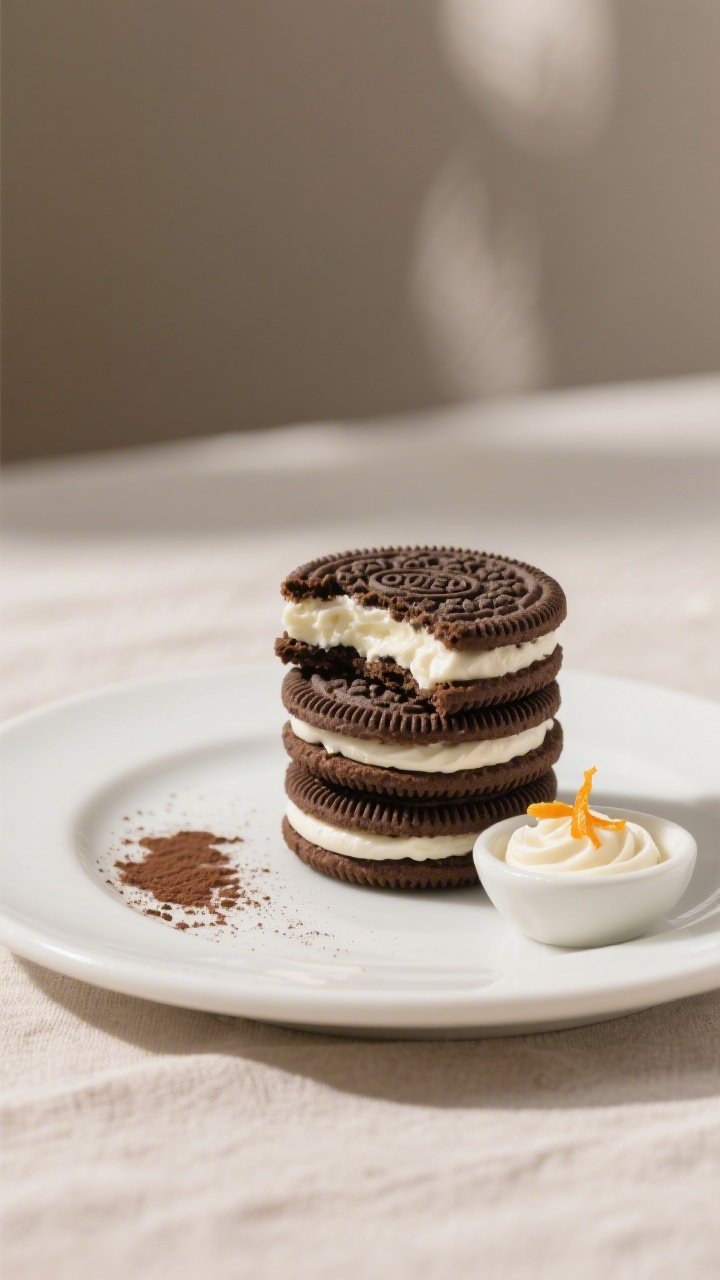
- Set and serve: Let assembled cookies sit 15–20 minutes to set. Enjoy now for maximum crunch or wait a day for a slightly softer, classic feel.
How to Store
- Room temperature: Keep in an airtight container for up to 1 week. Add a small piece of bread to maintain crispness.
- Refrigerator: Store up to 2 weeks.
Let come to room temperature before serving for best texture.
- Freezer: Freeze assembled cookies up to 2 months, well wrapped. Thaw, uncovered, at room temp to avoid condensation.
- Make-ahead components: Dough keeps chilled 3 days or frozen 2 months. Filling keeps refrigerated 1 week; beat briefly before using.
Why This is Good for You
- Control over ingredients: You choose the quality of butter, cocoa, and sweeteners, and can cut back on sugar if you prefer.
- Portion awareness: Smaller rounds limit serving size without losing satisfaction.
- Mood and memory: Comfort baking can reduce stress and spark warm nostalgia, which is good for overall well-being.
- Allergy-friendly options: Easy to adapt for dairy-free or gluten-free needs with simple swaps.
Common Mistakes to Avoid
- Skipping the chill: Warm dough spreads and loses that neat, crisp edge.
Chill at least 20 minutes.
- Rolling too thick: Thick wafers turn cakey. Aim for 1/8 inch for true crunch.
- Overbaking: Cocoa can hide browning. Pull them when set and matte to avoid bitterness.
- Too much filling liquid: A runny filling won’t set.
Add milk sparingly and beat until fluffy.
- Assembling while warm: Heat melts the filling. Cool cookies fully first.
Alternatives
- Dairy-free: Use vegan butter and all shortening in the filling. Choose a plant-based milk.
- Gluten-free: Swap in a 1:1 gluten-free flour blend with xanthan gum.
Chill dough a bit longer to help it roll cleanly.
- Double chocolate: Add mini chocolate chips to the filling or a touch of black cocoa powder to deepen color and flavor.
- Mint or citrus: Add 1/2 teaspoon peppermint extract or 1 teaspoon finely grated orange zest to the filling.
- Birthday twist: Fold rainbow sprinkles into the filling for a funfetti look.
FAQ
Can I make the cookies without shortening in the filling?
Yes. Use all butter for flavor. The filling will be softer at room temperature, so add a bit less milk and chill briefly after assembling if needed.
What cocoa powder works best?
Natural cocoa gives a classic, slightly tangy chocolate bite.
For a darker color and more intense taste, replace 1–2 tablespoons with black cocoa or use Dutch-process for a smoother, less acidic flavor.
How do I get perfectly even cookies?
Roll the dough between two parchment sheets to a measured thickness, and use a round cutter. Chill the cut rounds on the tray for 10 minutes before baking to hold shape.
Why are my cookies soft instead of crisp?
They were likely rolled too thick, underbaked, or stored while warm. Bake until the surface looks dry, cool completely, and store in a truly airtight container.
Can I reduce the sugar?
You can cut the cookie sugar by about 2 tablespoons without hurting texture.
For the filling, reduce powdered sugar and add a pinch more salt to balance sweetness.
How many sandwiches does this make?
Expect about 24–28 sandwich cookies, depending on your cutter size and dough thickness.
Can I add patterns to the tops?
Yes. Lightly press a small patterned stamp into the dough before baking. Dust with cocoa to prevent sticking and avoid deep impressions that weaken the cookie.
In Conclusion
Homemade Oreo cookies are crisp, chocolaty, and satisfyingly nostalgic.
They’re simple to bake, easy to customize, and store well for snacking all week. With a little chilling, careful rolling, and a fluffy filling, you’ll get that classic snap and creamy center every time. Keep the base recipe handy, then play with flavors to make it your own.
Printable Recipe Card
Want just the essential recipe details without scrolling through the article? Get our printable recipe card with just the ingredients and instructions.